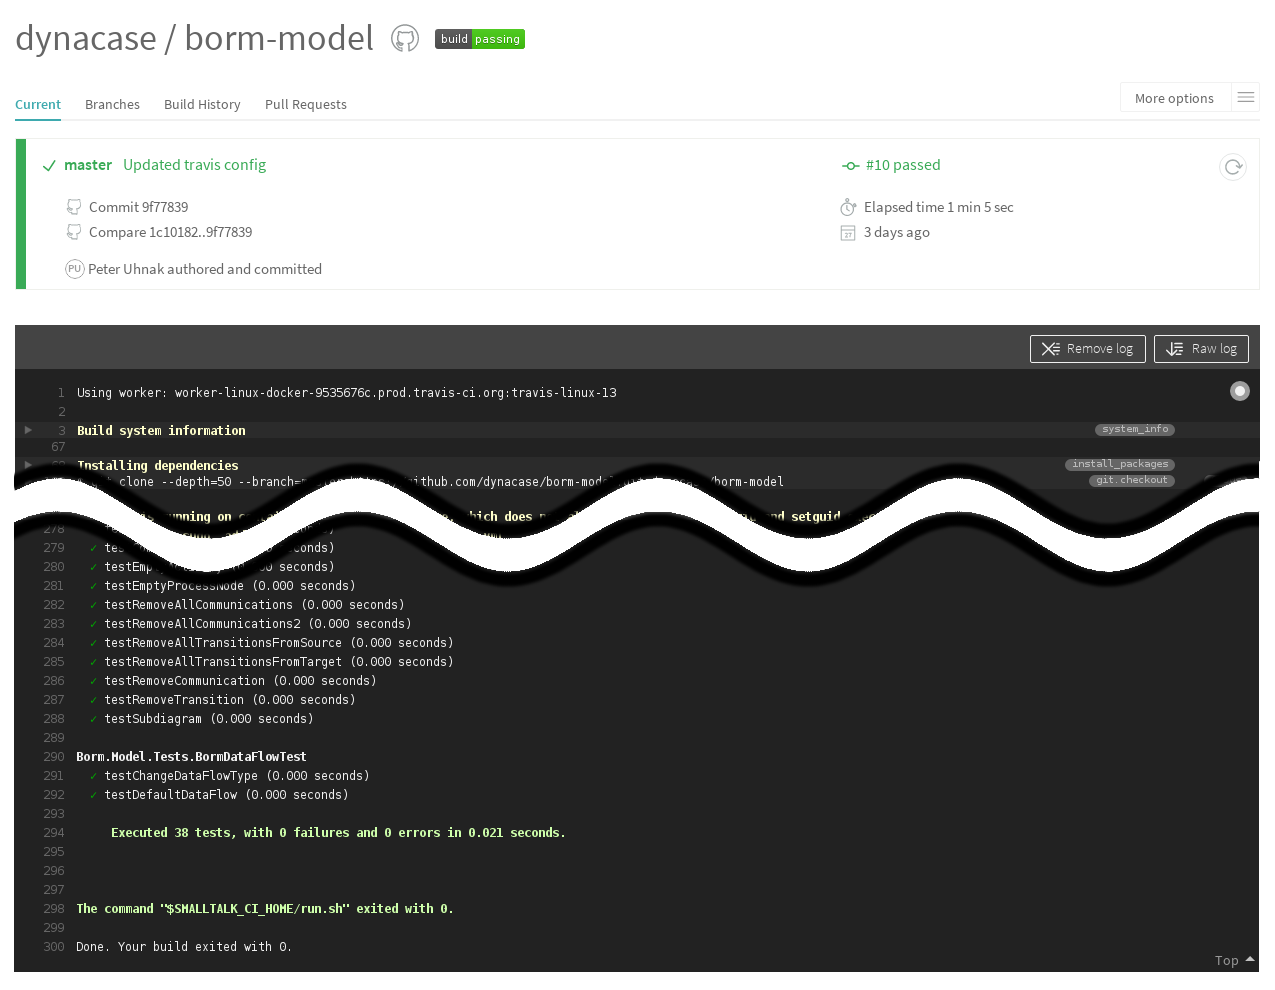
Writing tests is nice and all, but if you have to manually run your whole suite every time you make changes, you will soon go crazy. Likewise when accepting contributions to your project you wouldn’t want to manually retest your whole app for every single one.
For this task there’s a Continuous Integration platform such as Travis CI, which will do this for you automatically. Thanks to the SmalltalkCI framework you can now use it for Smalltalk with ease. This framework is also actively developed so it’s getting better all the time.
Going onward I will assume that your project is hosted on GitHub and that you have BaselineOf defined; if you don’t have your code on GitHub yet, read Uko’s Pharo and GitHub Versioning, or watch the step-by-step video from Kilon’s YouTube series.
Travis account
To start, head over to https://travis-ci.org/ and sign up — this is straightforward as Travis just asks GitHub to authenticate you and links your account.
Once signed up, enable CI for your project in Accounts settings; you can also change details like building for pull requests, etc.
Project configuration
To prepare your project, you need just two files in the root of your project.
The first one is .travis.yml, which can be as simple as:
|
|
The second file is .smalltalk.ston; again dead-simple:
|
|
Use the #directory directive if your code is in some subdirectory of your project — I like to use repository.
Now commit both files and push them to GitHub. Your project should look something like this:

If you’ve done everything right Travis will pick up the changes and will start testing and building it… and you’re done, congratulations!

Badge
With CI happily running you can add a badge to your readme or website that will show the current status of your project.
To obtain the necessary link, click on the badge in your Travis project overview and select one of the options. You can insert the markdown code directly to your README.md.

If you want to go crazy with badges (number of downloads, state of dependencies, …) take a look at shields.io.
Testing
Have you noticed that we didn’t specify what should be tested? Travis will automatically determine it for you based on what you’ve loaded.
If you are not satisfied with this choice or you want to test something else (e.g. whether loading your project broke some other code), you can say so:
|
|
To see the full list of configuration options, read the full template.
Advanced Travis configuration
Similarly you can also extend the .travis.yml file. This file is a standard Travis configuration, so you can always refer to Travis docs.
For example, I use Roassal in some of my projects; Roassal however requires Cairo library to be installed in the system.
To install it, I’ve added the following to my .travis.yml:
|
|
You can install pretty much any (reasonable) package available in the Ubuntu distribution (package docs).
This should get you started with Travis CI, next time I will explore some more advanced options like testing code coverage and deploying your images.